Bearing Replacement: Data to Gather Before Installation
I've watched seasoned mechanics pull a "bad" bearing off a shaft, shove the new one in the box by part number alone, and wonder why the line went down again in eleven weeks. The folklore around bearing swap is wrong.
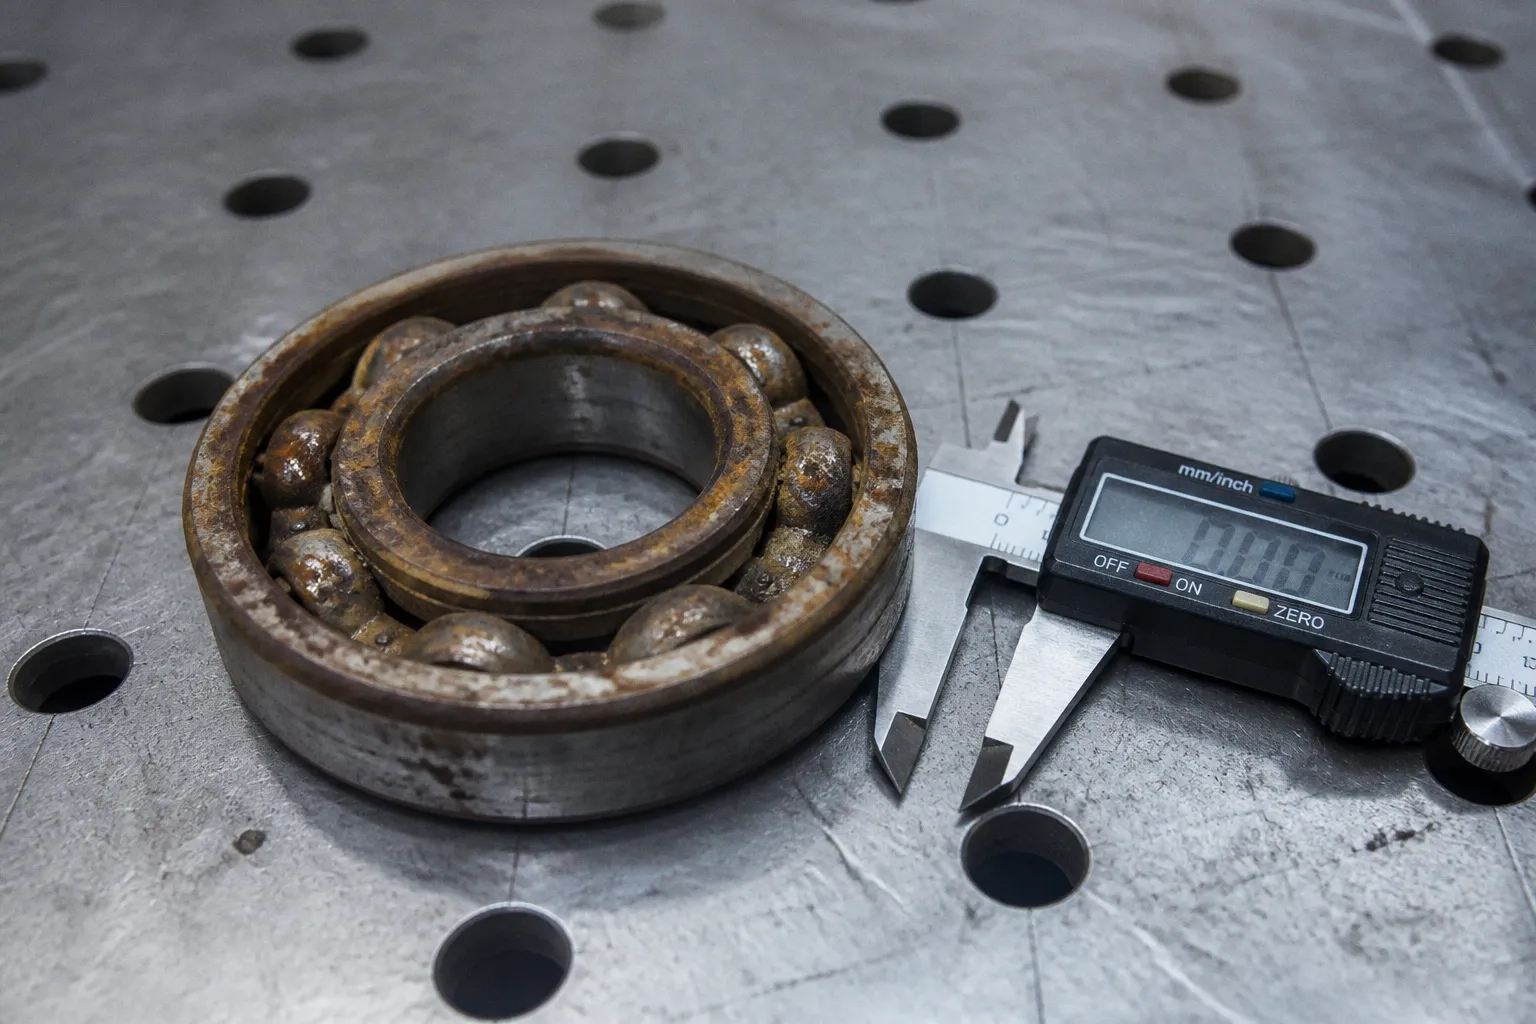
Bearings don't fail on schedule; they fail because someone skipped the boring paperwork before the fun part. Roughly 48% of premature industrial bearing failures trace back to improper installation or mishandling. That's not a quality control problem at the factory — that's a data problem in the maintenance bay.
If you treat bearing replacement like a parts-counter transaction, you will keep buying the same expensive lesson. Treat it like an audit. Your job before the wrench moves is to verify, document, and confirm. The rest of this guide walks through exactly what data to gather, in what order, and why skipping any step costs you runtime.
Why the Pre-Replacement Audit Matters More Than the Install Itself
Every catalog page is a hymn to the bearing itself — its tolerances, its grease, its cage geometry. None of it means anything if the bearing you ordered is the wrong suffix, the wrong clearance, or the wrong fit class for the actual shaft you're mating it to. Most premature failures I've inspected cluster around three root causes:
- Wrong fit class. The replacement was ordered to a part number pulled off a nameplate, but the shaft journal is worn outside its original ISO tolerance band — so the press-fit that was supposed to hold is now spinning on the journal.
- Wrong internal clearance. A standard clearance (CN) bearing was installed in an application that, after measuring thermal expansion and load, demanded a C3 or C4 — or vice versa.
- Lubrication noise. Either too much grease pumped into the housing or the wrong base/viscosity chosen for the operating envelope, both of which show up as a hot bearing scan long before failure.
All three are preventable. All three are caught — or missed — before the new bearing goes onto the shaft.
Decode the Part Designation Completely — Including Every Suffix
The single biggest friction point I see in the field is incomplete part capture. A maintenance tech writes "6204" on the work order and the parts clerk orders a 6204. The original 6204 was a 6204-2RS-C3-P6-Q6. That's a different bearing. Same envelope, different performance.
A full bearing designation typically communicates, at minimum:
- Base code — bore, series, type (e.g., 6204 deep groove ball).
- Internal clearance class — C2, CN (standard), C3, C4, C5. C3 is by far the most common upgrade for thermal expansion allowances; C4 takes it further.
- Seal or shield configuration — 2RS (rubber seals both sides), ZZ (metal shields both sides), open (no seal), 2Z, 2RZ, and so on. Sealed units ship pre-greased and are not regreasable; open and shielded types may accept relube through a housing fitting.
- Cage material — steel stamped, brass machined, polyamide (PA), phenolic. Each carries different speed limits and thermal ceilings.
- Precision class — P0 (standard), P6, P5, P2. Mismatched P-class on a spindle or gearbox input is a known source of noise and vibration.
Walk to the failed bearing and read every stamp. If it's unreadable because of corrosion or fretting, that's still data — it tells you the environment the next bearing has to survive, and it should push you toward a sealed, corrosion-resistant variant.
Shaft and Housing Geometry: Measure, Then Compare to ISO 286
Pulling a micrometer and a bore gauge sounds like overkill until you remember that the shaft is the silent partner in every bearing. If the shaft is out of round, undersized, or scored, you don't have an installation problem — you have a shaft problem that no bearing will save.
The working framework is ISO 286, which defines the tolerance grades and letter/number positions for shafts and housings. Common pairings you'll see in general industrial service:
| Application profile | Shaft tolerance | Housing tolerance |
|---|---|---|
| Standard rotating inner ring (typical) | h6, j5, k5 | H7, K7 |
| Heavy load / solid shaft press-on | m5, n6 | M7, N7 |
| Floating / axial sliding fit | g6 | H7 |
| Adapter sleeve mounting | tapered sleeve (special) | H7 (housing fit independent) |
The rule of thumb is straightforward but consistently violated: rotating loads usually demand an interference fit on the ring taking the load, and a clearance fit on the stationary ring so thermal expansion doesn't preload the bearing. Get this backwards and you bake axial load into the geometry — your housing temperature scan will catch it later, but by then you've already shortened the bearing life you were trying to restore.
Internal Clearance: Measure Before and After Mounting
Internal clearance is where the over-confident tech loses the room. C3 doesn't mean "more better." It means a defined increase in radial internal clearance relative to the standard CN group. That extra room accommodates thermal expansion when the bearing runs at sustained elevated temperature, or the elastic deformation under heavy load. Use it where the math says to use it. Don't use it everywhere "because it's safer."
The audit sequence I'd run:
1. Measure clearance before mounting. Use a feeler gauge or a dial-indicator rig against a known load, on a flat reference surface. Record the figure in either inches or millimeters — pick one unit and stay in it across the whole work order.
2. Install the bearing with the correct fit method. Hydraulic press, induction heater, cold dry-ice or LN2 chamber for shrink fit on the inner ring — match the tooling to the fit class.
3. Re-measure clearance after mounting, before locking the locknut or retaining ring. Interference fits will reduce internal clearance. If the post-mount figure is below your minimum, the shaft tolerance is wrong, or the press was miscalculated. Don't compensate by stacking a thinner spacer — fix the geometry.
Most catalogs publish the theoretical clearance ranges for CN, C3, C4 in each bore size. Print the relevant row. Tape it to the bench. It removes judgment from the bench tech's hands and turns the install into a verifiable event.
Operating Temperature Baseline: Establish Before and Verify After
A housing scan is the cheapest health check on a rotating line, and it's the one most often skipped because it requires walking to the machine with an infrared thermometer and writing down a number. Do it anyway.
A practical baseline I've come to rely on: housing scans consistently reading 80°C to 90°C (176°F to 194°F) under steady operating load are a warning sign. Normal operation on most greased industrial bearings sits well below that — usually in the 50°C to 70°C range, depending on ambient and RPM. If your baseline run climbs into the 80°C+ band, work backward through the audit list before you condemn the bearing:
- Insufficient or wrong lubrication. The most common cause. Grease channels blocked, wrong base oil viscosity for the temperature, or the bearing was over-packed.
- Friction from misalignment. Either shaft-to-housing concentricity drift, or the soft-foot condition that's been quietly twisting the housing since install.
- Load outside design envelope. Coupling misalignment propagating into the bearing, or a process change (heavier product, faster throughput) that nobody documented back to the bearing spec.
Take three readings at the same point on the housing, ten minutes apart, under steady state. Write them on the work order. That's your baseline. Now every subsequent bearing installation has a number to beat.
Handling, Packaging, and Preservative Layer
This is the audit step that gets eye-rolls because it looks like ceremony. It isn't. The factory anti-corrosion packaging on a new bearing is engineered to keep the surface finish, the internal clearance tolerance, and the grease — if pre-greased — intact from the warehouse to the install. Pull it early and you're accepting avoidable risk.
The protocol I enforce:
- Keep the bearing in its original sealed packaging until the moment of mounting. If it's a shielded/sealed unit, the package should not need to be opened until the bearing is on the bench about to go on the shaft.
- Do not wash the bearing as a default. Factory anti-corrosion preservatives are designed to be compatible with the lubricant or to volatilize out at operating temperature. Harsh solvents wash out the trace film and can leave residue inside the raceway that's worse than what you removed.
- If the bearing must be cleaned (visible contamination, dropped on the floor, opened packaging after a long wait), use the lubricant specified in the OEM manual, not an unspecified solvent. Document the cleaning event on the work order.
Pair this with bench hygiene. Cleanliness on the install surface is not aesthetic — it's the difference between a bearing that runs its full L10 life and one that eats a contamination-induced spall in month three.
Order Verification: The Five-Minute Cross-Check That Saves a Day of Downtime
Before you authorize the PO, run the part designation you've captured from the failed bearing against the supplier's cross-reference and the OEM's spare-parts list. Specifically:
- Suffix by suffix. Don't stop at "okay, it's the same base code."
- Tolerance class. If the OEM calls out P5, you don't substitute P0 "because we have stock."
- Seal configuration. 2RS vs ZZ is not a stylist's preference — it changes the lubrication strategy for the life of the unit.
- Cage material, especially on high-speed applications — phenolic and polyamide have thermal ceilings steel-stamped cages do not.
Order verification is the cheapest step in this whole list. The cost of getting it wrong starts at a replacement bearing and grows.
Do This, Not That: The Replacement Audit Verdict
If you take nothing else from this, take the audit frame. Every successful bearing replacement I've witnessed looks the same way: the tech pulled data off the failed unit, walked the bench against the OEM spec, measured both shaft and housing, picked the right clearance class, scanned the housing baseline afterward, and only then declared the job done. Every failed replacement looks the same way too — a purchased part, a press fit, a hope.
Do this:
- Capture the full part designation including every suffix, and confirm it against supplier cross-reference before ordering.
- Measure the shaft and housing, compare to ISO 286 tolerance classes, and pick the fit deliberately.
- Measure internal clearance before mounting and re-measure after, before the locking device is set.
- Establish a housing temperature baseline post-install and audit it at first planned inspection.
- Keep new bearings sealed until the moment of mounting; do not wash factory preservatives by default.
Not that:
- Don't order by base code alone. Same bore code, different bearing.
- Don't press-fit onto an unmeasured shaft and call it good. The shaft is part of the bearing system.
- Don't "upgrade" to C3 across the board. Clearance is a calculated choice, not a vibe.
- Don't run the line for two weeks without a thermal check. The data you didn't collect is the data you'll wish you had.
- Don't open sealed packaging days early. The anti-corrosion film is working while it's sealed.
A bearing replacement that runs its full design life isn't exotic work — it's disciplined work. The data you gather in the boring half-hour before the install is the entire reason the next teardown is eighteen months away instead of four.